 AIVideoFree
AI Image Upscaler
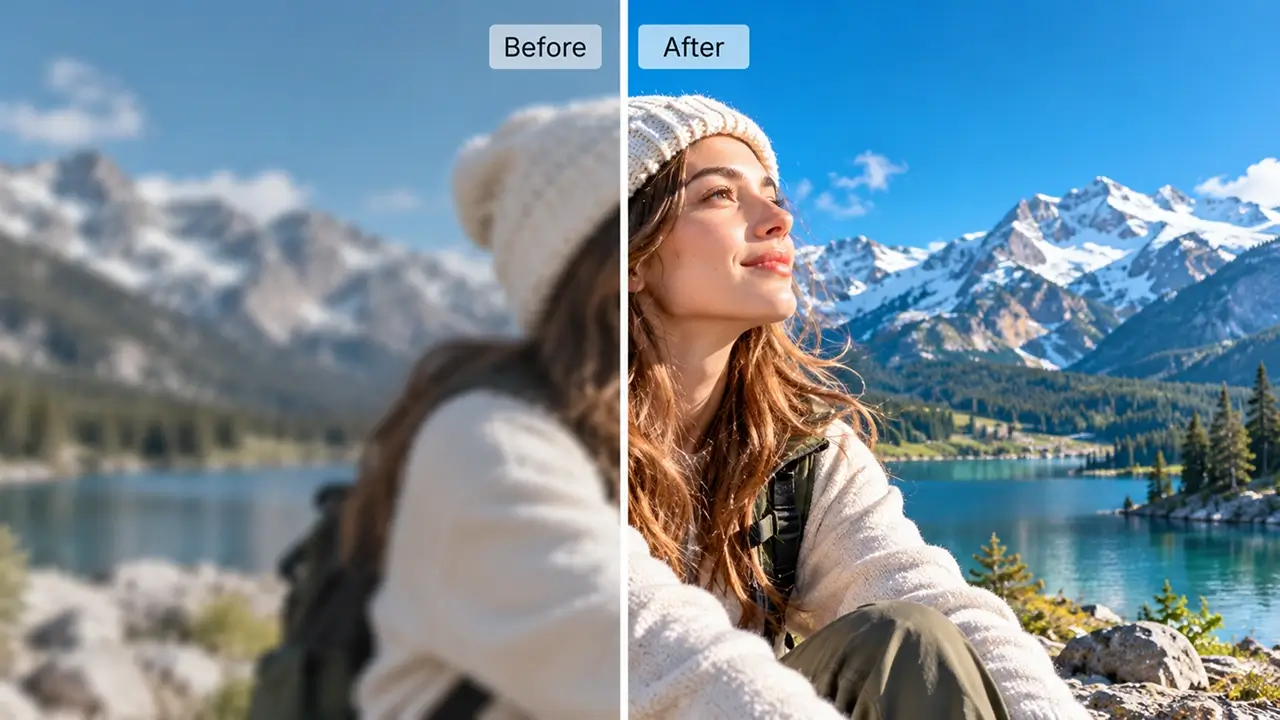
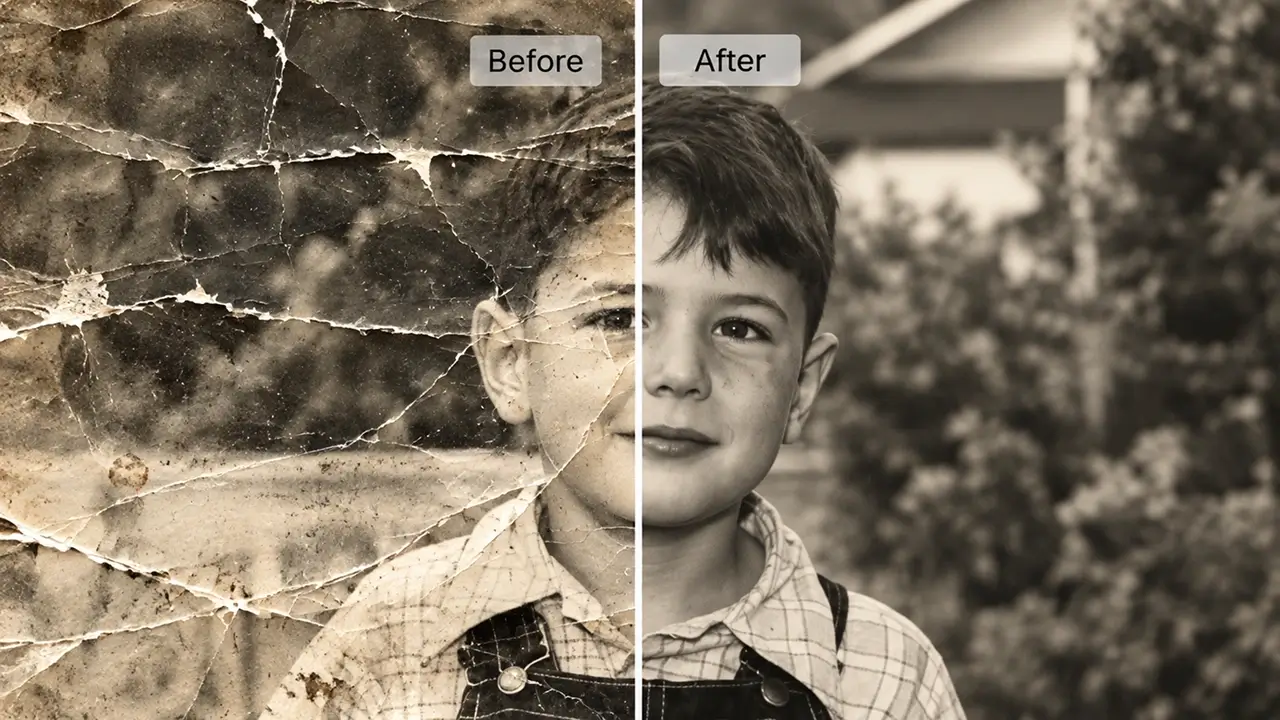
Enlarge a photo up to 4× and get detail back rather than a bigger blur — for print, for old scans, and for images that have been through too many re-uploads. Three free upscales a day.
Input
JPG · PNG · WebP · HEIC, 20 MB
Scale
2× or 4×
Also does
Artefact clean-up · scan restore
Modes
Photo · illustration · old scan
Free tier
3 upscales daily, no account
Typical time
10–30 seconds
Your uploads
Deleted within 24 hours
Our one-line verdict: the unglamorous tool you'll use most. Every other page here makes something new; this one rescues what you already have — and it's free three times a day.
Upscaling is the least exciting thing on this site and probably the one you'll open most often. The image that's perfect except it's 600 pixels wide. The scan of a print that needs to go on a poster. The product photo a supplier sent at thumbnail size. A good upscaler recovers detail that's genuinely present but degraded, and the difference from old bicubic enlargement is that it rebuilds edges and texture rather than smoothing everything into wax. The same honest limit as anywhere in this category applies: it cannot invent what was never captured. A blurry photo becomes a larger, cleaner, still-blurry photo — and the free tier means finding that out costs nothing.
How to upscale an image in 3 steps
Upload the best copy you have
The original file beats a screenshot or a re-download every time — each re-save removes detail this tool would otherwise recover.
Pick the mode and the scale
Photo, illustration or old scan — they handle texture differently. Start at 2× before reaching for 4×; bigger isn't automatically better.

Check the detail, then download
Look at the areas you care about at full size — faces, text, fine texture — before exporting.
What people upscale
Supplier images that arrive tiny
A 500-pixel product photo that has to fill a listing. Upscaling plus artefact clean-up is the difference between a listing that looks cheap and one that doesn't.
Web images headed for paper
A logo, a photo or an old asset that only exists at screen resolution. 4× with the right mode usually clears the bar for print.
Scanned prints
Old photographs digitised at modest resolution, enlarged for framing — with grain kept, so they still read as photographs.
Where it works well — and where it struggles
The right column is half technical limits and half rules we've chosen. Knowing the failure modes before you upload saves more time than any guide.
Where it works well
• Compressed and re-saved images.
A photo that's been through messaging apps and re-uploads has real detail buried under artefacts. This is the case where the improvement is dramatic.
• Print preparation.
A web-resolution image that needs to be a poster or a packaging panel. 4× with artefact clean-up usually gets there, and the preview shows you before you commit.
• Old scans.
Prints and negatives digitised at modest resolution, with grain kept so the result still looks like a photograph rather than a render.
• Illustration and line art.
Separate mode, because vector-like edges want different handling from photographic texture. Logos and drawings enlarge cleanly.
Where it struggles
• Out-of-focus and motion-blurred photos.
No detail underneath to recover. You'll get a bigger, cleaner blur — better, but not sharp.
• Faces at very small sizes.
A face occupying a few dozen pixels can come back subtly wrong rather than soft, which is more distracting. Check faces at full size.
• Text that's already illegible.
If a word can't be read in the original, the upscaler may produce confident letters that are wrong. Never trust reconstructed text on documents.
• It isn't a retoucher.
Upscaling enlarges and cleans. Removing objects, changing backgrounds or fixing composition is the image editor's job.
Upscale, enhance, or edit?
Questions, answered straight
Upload the best copy you have — the original, not a screenshot — pick the mode that matches the content, and start at 2×. Detail recovery works on information that's present but degraded; it can't rebuild what the camera never captured, which is why the free tier exists.
Other tools on this site
Remove, replace and restyle once the resolution is fixed.
The same job for footage.
Give the restored photo gentle motion.